When it comes to online shopping, we are given an unlimited choice and are often torn between multiple products.
So, how do we decide?
As humans, we tend to go for the product which is the most visually appealing to us. Therefore, getting the perfect product image for your Amazon listing should be at the top of your to-do-list!
The photo you display on your Amazon listings reflects who you are as a brand. You want to be perceived as a professional and trust-worthy business to generate more sales and loyal customers.
The image’s are ultimately what will sell your product to the customers, so it’s important that you take the time to perfect them. Not everyone has the luxury of hiring a professional photographer, so this guide is for anyone looking for a DIY option whilst still achieving the same result.
Firstly, let’s look at Amazon’s product image requirements.
Follow Amazon’s Requirements
When posting a listing, you will need to adhere to Amazon’s strict rules when taking product images. They need to meet Amazon’s standards otherwise the listing will be removed. Amazon offers you 9 spaces for images, however the minimum requirements are for you to have a main image, as well as 6 other images and a video (optional).
The main image is the first photo customers will see when searching for your product. First impressions count, so the main image needs to be a clear photo taken on a white background and only the product that is being sold can be in the photo.
On the other photos, you can get a bit more creative by using different backgrounds, angles, props or have someone show the product in use. This will help to sell the product and give customers a better perspective.
Technical requirements for all images are as follows:
- All photos must fill at least 85% of the image box
- Images must be in JPEG, TIFF, PNG or GIF formats
- Image size should be at 1000px by 1000px at least
- Colour mode should be in RGB or CMYK
Equipment
- Camera or Smartphone
- White background
- Tripod
- LED light or natural light
- Bounce card
- Table or surface
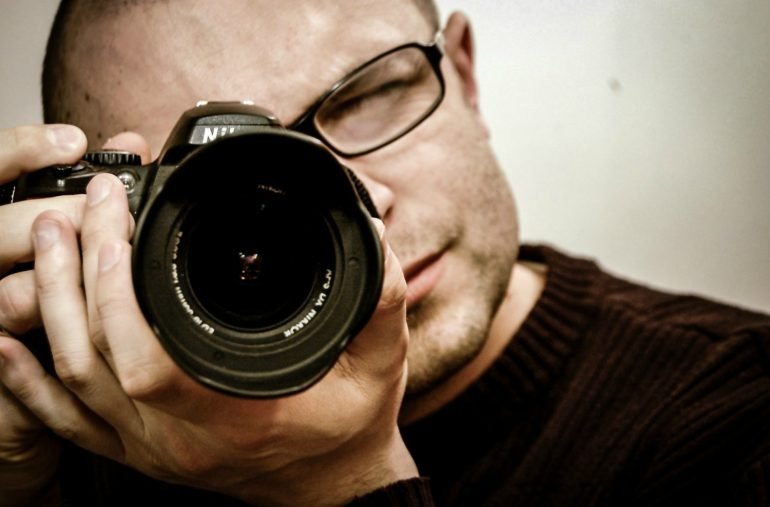
The most important step to taking professional product images is using a high resolution camera. The newer model iPhones all have high quality cameras with multiple settings that will work great! However, if you’re looking to upgrade your photos just that little bit more, we recommend investing in a camera (if you don’t already have one).
The market-leading camera for product photography is the Nikon D7200; a DX format camera with 24 megapixels for perfect image quality. A more affordable option would be the Sony Alpha a6000. A tripod or a mobile holder is also a worthwhile investment as it stops the camera from shaking and prevents any blur.
For your main image in particular, you will need a plain, white backdrop behind your product. An white wall or an inexpensive white sheet will work best for this.
Lighting Set-Up
The next stage is to create your lighting set up. You have two choices; natural light or artificial light. You can achieve professional looking photos with either lighting, however, you should only use one or the other. For natural lighting, you should shoot in daylight hours and place your product on a table next to a source of direct sunlight. You can then place your bounce card behind the product so that the natural light reflects off it and back onto the product.
If you want to be even more professional or you have poor lighting, you can use an LED light set-up. They don’t need to be expensive – you can find affordable set-ups on Amazon with everything you need!
Tips and Tricks
Now that you’re all set to go, it’s time to take the photos!
A tip for when taking your photo using either your phone or camera is to turn the exposure on high to make the background appear whiter. This will make your photo look cleaner and the product will stand out more. Experiment with editing your photos using image editing software.
As customers are visual buyers, another tip is to include an infographic in your listing. Edit your picture with either important information or instructions that will be beneficial to the customer.
Take as many photos as you need and experiment using different angles to try and get the best shot. Try to think from the perspective of the customer and what they will want to see. Your product should be showcased to show the consumer how it works and why they need it.
.


